So you have chanced upon this article huh? This means that you are having some trouble practising or producing Latte Art. Don’t worry, it took us some time, kilos of coffee beans, and tons litres of milk to get to where we are today! Here is how to make Latte Art in a few easy steps!
In this guide, we will go through basic steps to create Latte Art using an Espresso Machine. I will break things down into 3 sections:
1. The Theory behind Latte Art
Understanding the theory behind why and how Latte Art forms is essential to producing Latte Art.
Latte Art is formed because the microfoam of the milk is the same density as the crema of the espresso. If you have a basic understanding of Density, this should be easy for you to absorb.

We start with the Espresso – the Espresso must have a good layer of stable crema. This means that proper extraction of the coffee is quite necessary to produce the crema. Also, it is important to use beans that are of proper age. Too fresh and the crema produces too much foamy crema, too little and the crema might not be enough.
Next, we look at the milk.
Frothing too much foam makes the foam less dense and hence, it would float on top of the crema. Frothing too little foam, and it’s essentially just milk without foam, hence it would be more dense than the crema and sink to the bottom.
2. Milk Frothting/Steaming
Milk Frothing is a crucial factor in Latte Art. We have made an in-depth guide here: https://nineteen95.sg/steaming-milk-for-latte-art/
To summarize that article:
It starts with what size of drink you are preparing. Assuming that you are preparing the beverage in an 8oz cup, you would have to use a 12oz milk pitcher.
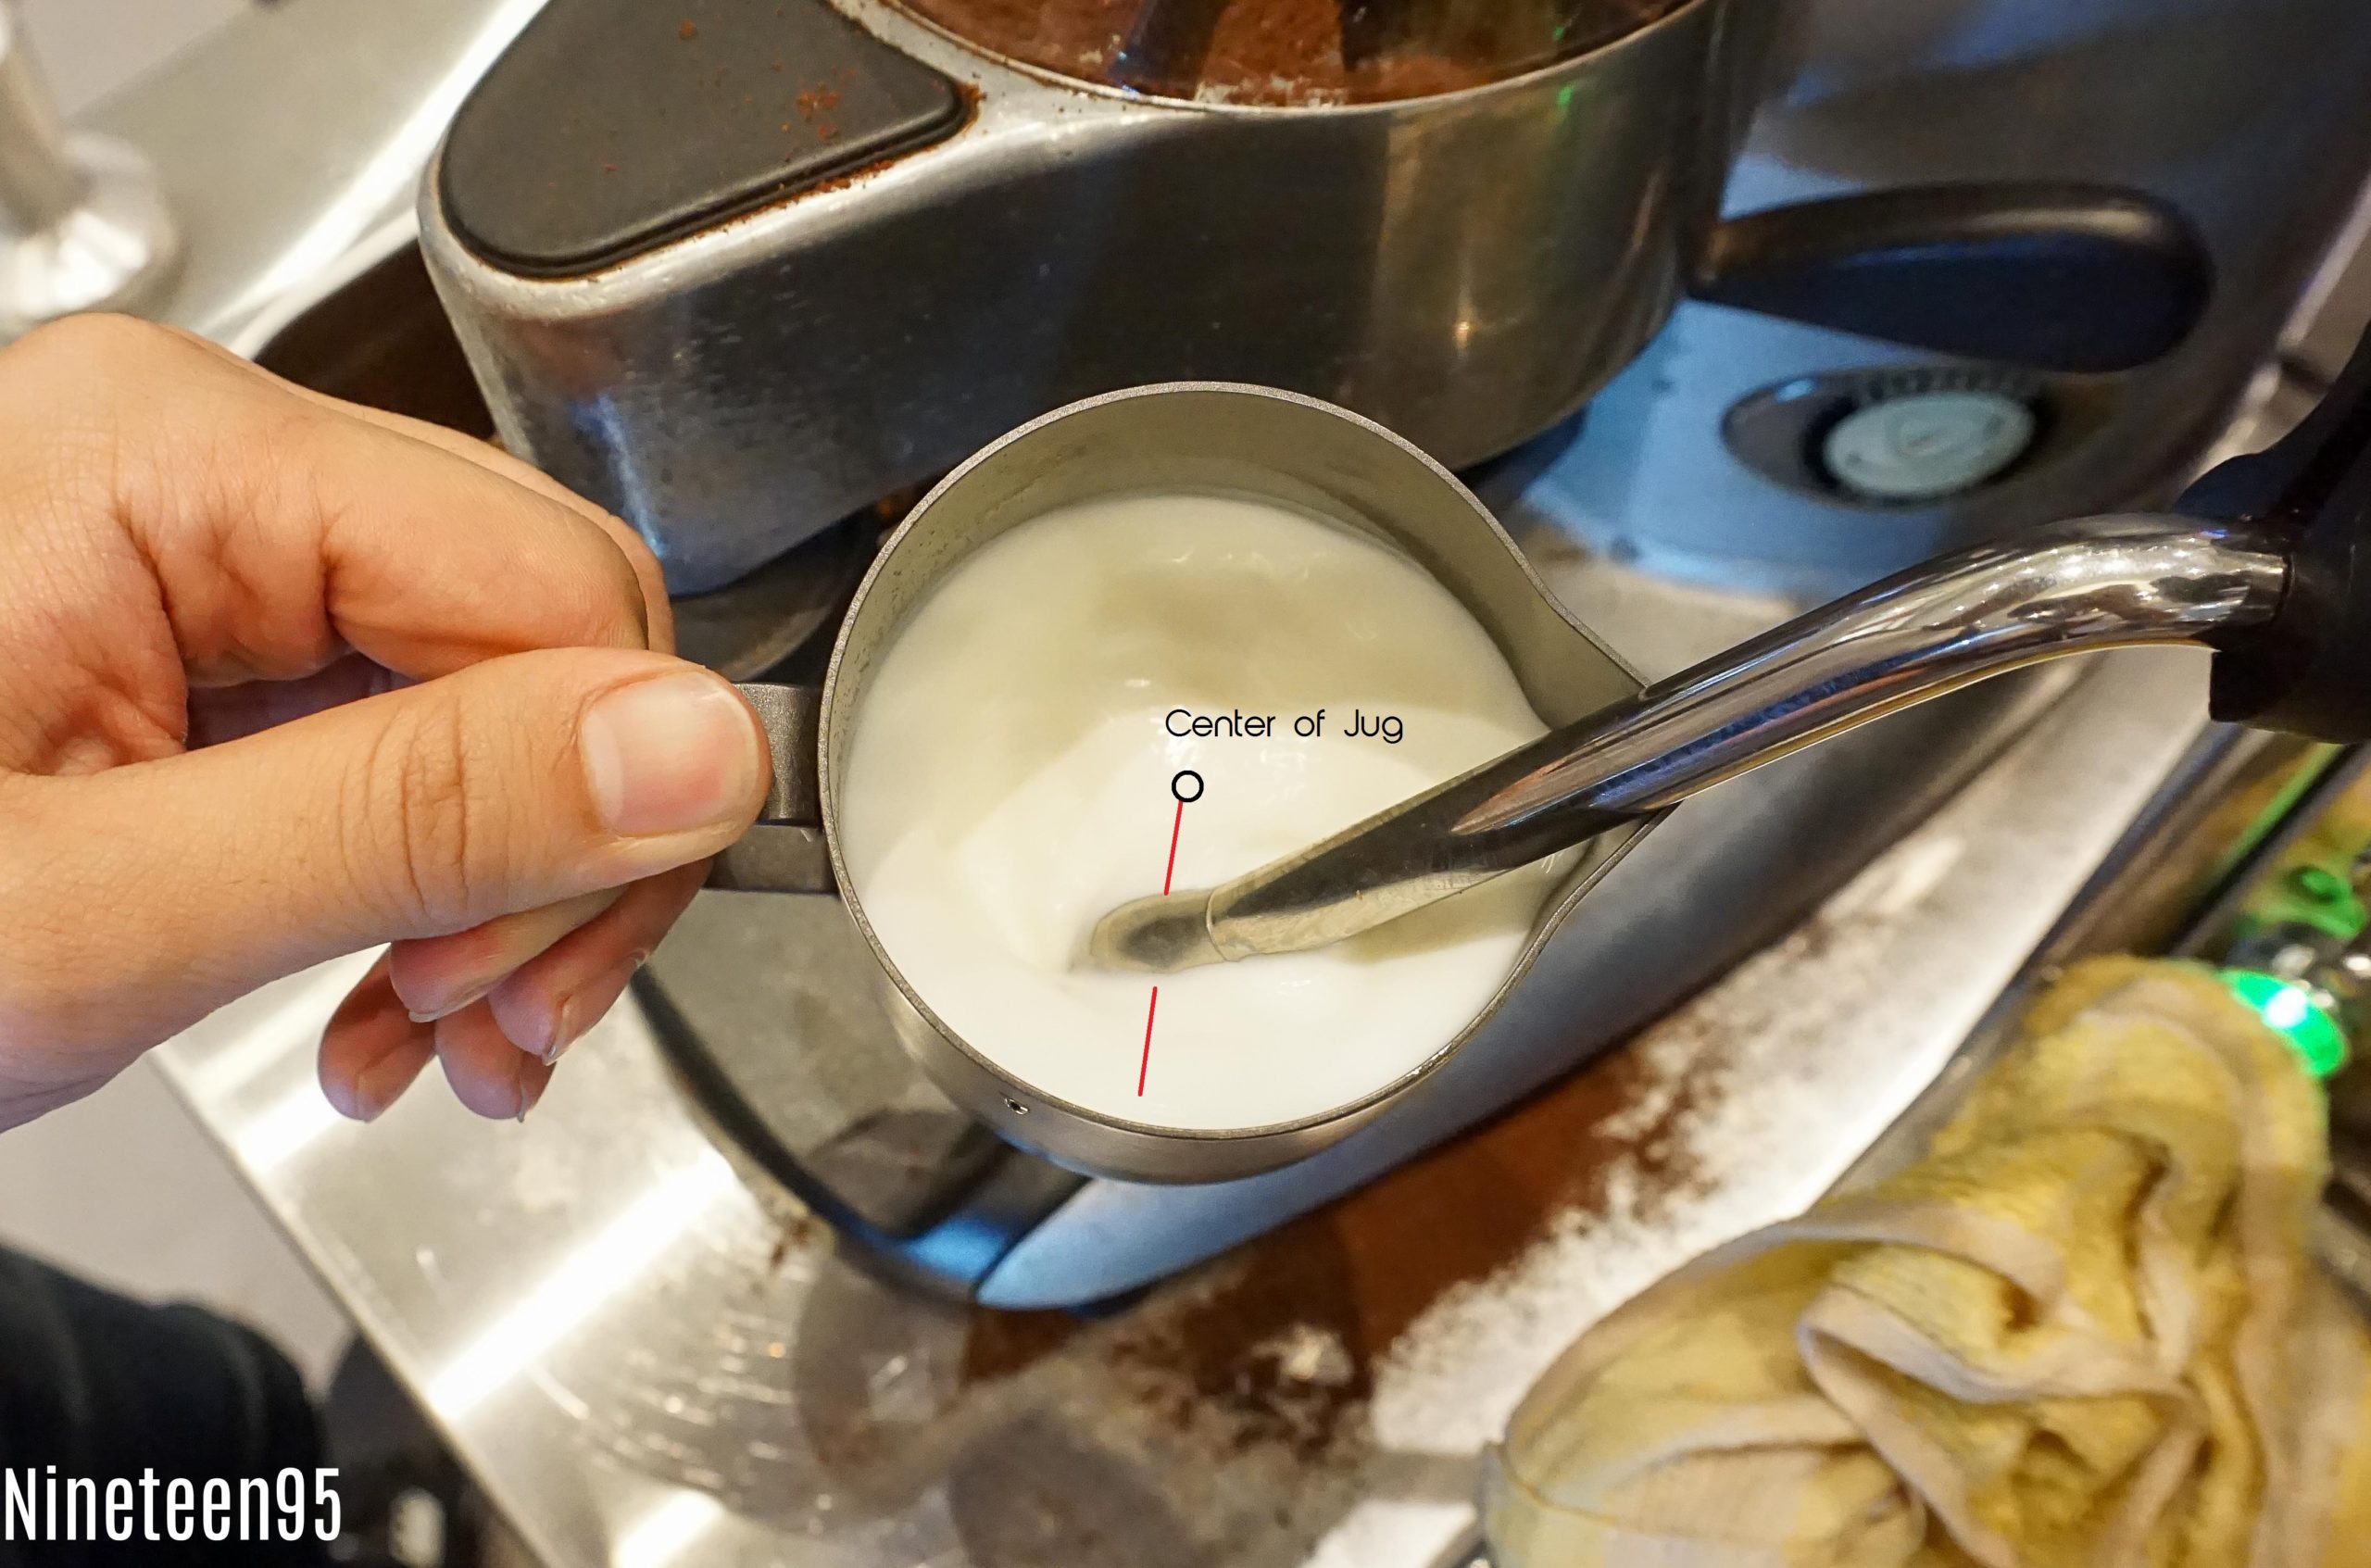
Next, insert the steam wand just underneath the surface of the milk and get a whirlpool going. The whirlpool helps with frothing the foam and incorporating it into the whole body of milk. Once the milk has a consistent whirlpool, lower the milk jug until the steam wand is at the surface of the milk, you should hear a sharp paper tearing/hissing sound. Hold it there for about 3-4 seconds, the body of milk should rise about an inch and then raise the milk jug such that the steam wand is under the surface of the milk. Heat it up until the milk jug is too hot to touch.
Once done, turn off the steam and inspect the milk. How does it look? Proper foam for Latte Art should look like the consistency of wet white paint – thick, but yet liquid at the same time.
3. Grip, Posture, and Pour
Grip and Posture is everything when it comes to pouring.
Here are 2 grips that you can start off with when practising:
The Thumb Grip
The Thumb Grip is what most people start out when making latte art. Let’s recall some basic science again.
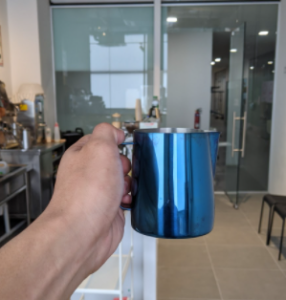
With this grip, the index finger becomes the pivot while the thumb becomes the lever. The pouring of the milk mainly comes from the thumb pushing down on the top of the handle to let the milk flow out.
Grip Recommended for: Beginners who want to practice Heart Shape or Tulips
The Pinch Grip
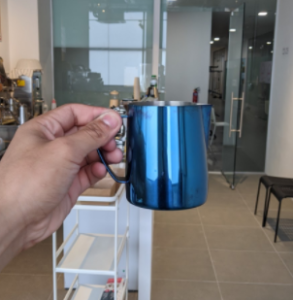
With this grip, you would want to use your thumb and index finger to pinch the top of the handle with the middle and ring finger going into the handle for support.
When pouring, the ring finger becomes the lever with the thumb and index being the pivot. Lift the jug using the ring finger when pouring.
The common thing here is to use the jug with the proper motions (Lever and Pivot). If you use your arm to lift the jug to pour, it might rotate the jug and cause it to be off-centre. This brings us to our next point:
Body Posture

Hold the cup with your non-dominant hand and the milk jug with your master hand.
Raise your arms such that the cup and jug are at about chest level. This is purely a benchmark, you may adjust the height of where you start your pour later on when you get more comfortable.

Ensure that the milk jug and cup are perpendicular to each other – the spout should be directly aim in straight and center to the cup. If the jug or cup rotates in any way, the pattern will come out off-centre.
The Pour
The final step in this guide would be the Pour. There are 3 parts to the Pour:
1. High and Slow
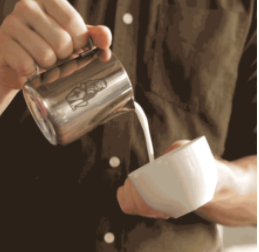
Start about 3-4cm above the cup. With your cup tilted, pour from the starting position slowly – not so slow that it starts to drip. The purpose of starting high and slow is to allow the milk to cut through the crema. Remember earlier in the article? The crema helps the foam to flow smoothly and create the shape. We do not want to destroy this layer of crema.
Once the cup is almost full while in the tilted position, we move on to the next step.
2. Low and Fast
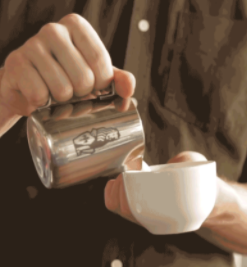
Get as close to the cup as possible (your jug should even touch the cup) while speeding up the pour. Remember to aim for the centre and tilt the cup to an upright position to avoid spilling.
You should see whites starting to appear. Hold the position until you are satisfied with the size of the shape and we can do the cut through.
3. The Cut Through

The Cut Through finalised the pattern. It consists of two steps – lift and cut. You should not cut through the pattern while lifting otherwise your pattern will be “dragged” and it will not have a sharp cut through.
Once you have finalised the pattern, lift the jug about 2cm above the cup, and cut through fast.
Final Words
There you go! Those are easy steps to make Latte Art! It’s not going to be easy at first. Practise, practise, and practise! It took us several years to master Latte Art so don’t be discouraged if you cannot get it within a few months.
Still having trouble making Latte Art? We conduct workshops to help you perfect your technique!
We host Latte Art Workshops at our facility where we guide our guests in a comfortable and intimate environment. Everyone is sure to walk away knowing how to pour at least a heart shape! Our Latte Art Workshops are held at our place:
Spazio@Kovan, 767 Upper Serangoon Road
#02-08, Nineteen95 the Espresso Bar
From Overseas?
We are able to assist you over telecommunications as well! Guided workshops over Skype would be our go-to medium to conduct online workshops.


