Hello one and all! It’s been awhile since I posted anything on this blog. We’ve been really busy with events and our lives recently. As you all know, I own a La Pavoni Stradavari that I use for my home setup. Along the way, you WILL encounter issues using the machine and that’s where the Facebook group, with its fantastic and brilliant community, comes in. The people there are oh so friendly and are always more than willing to help and share tips regarding the Pavoni. Though however, this guide is not exclusive to La Pavoni users. The fundamentals and techniques can also be applied to whatever espresso machine you are using.
It seems that there are a lot of people that are interested in Latte Art but have difficulty steaming/frothing the milk. I’ve written a full guide on how to make a cup of latte on this blog, but the specific issue that people are facing seems to be with steaming the milk. When it comes to Latte Art, one of the most CRUCIAL things is steaming the milk properly. It really makes or breaks your pour. In this guide, I will be sharing with you tips and tricks that I have learnt over the years of trial and error.
Essentially, there are 3 important factors:
- Amount of milk
- Getting the Whirpool
- Stretching/Steaming the Milk
Let’s get started!
1. Amount of Milk
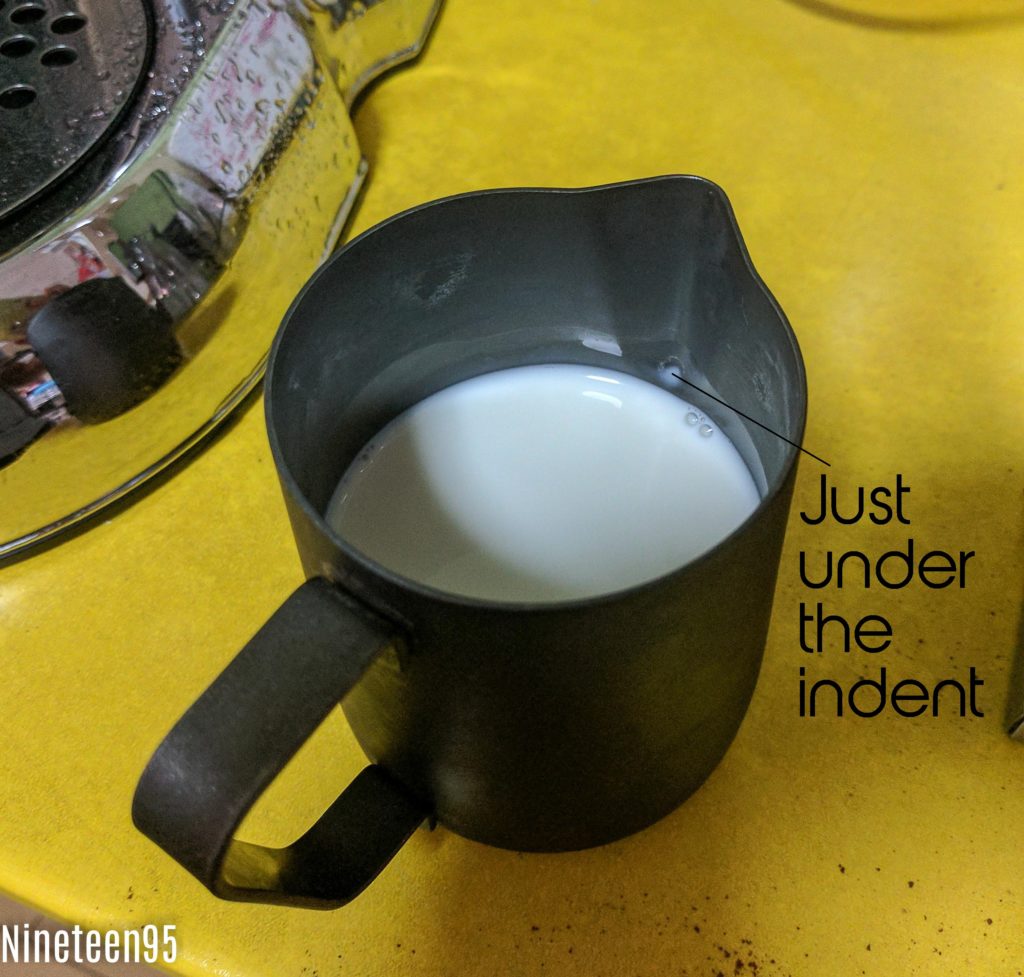
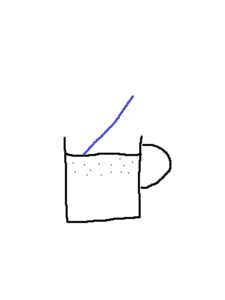
Fill milk to just under the indent of the spout.
First and foremost, a latte art pitcher/jug is most recommended. In order to make an 8oz Beverage like a Latte, I will be using a 12oz pitcher. Fill the milk to just under the indent of the spout and you should have the perfect amount of milk. Too little and the milk heats up too fast; you will not have time to stretch the milk. Too much milk and it will be difficult to pour + it will overflow while steaming.

Oh yes, and not forgetting type of milk. It will be one hundred times easier if Fresh Pasteurized Full Fat Milk was being used. I’ve tried with Low Fat Milk and Almond Milk, it’s not impossible, just a lot more difficult to get consistent, quality microfoam. The milk that we use is Barista Milk from F&N. What makes it special is that it has higher Fat% and Protein% making it creamier, richer, and more flavourful. In my country, F&N only sells the Barista Milk to business for now. Otherwise, I would normally use Meiji Full Fat Milk.
2. Getting the Whirlpool
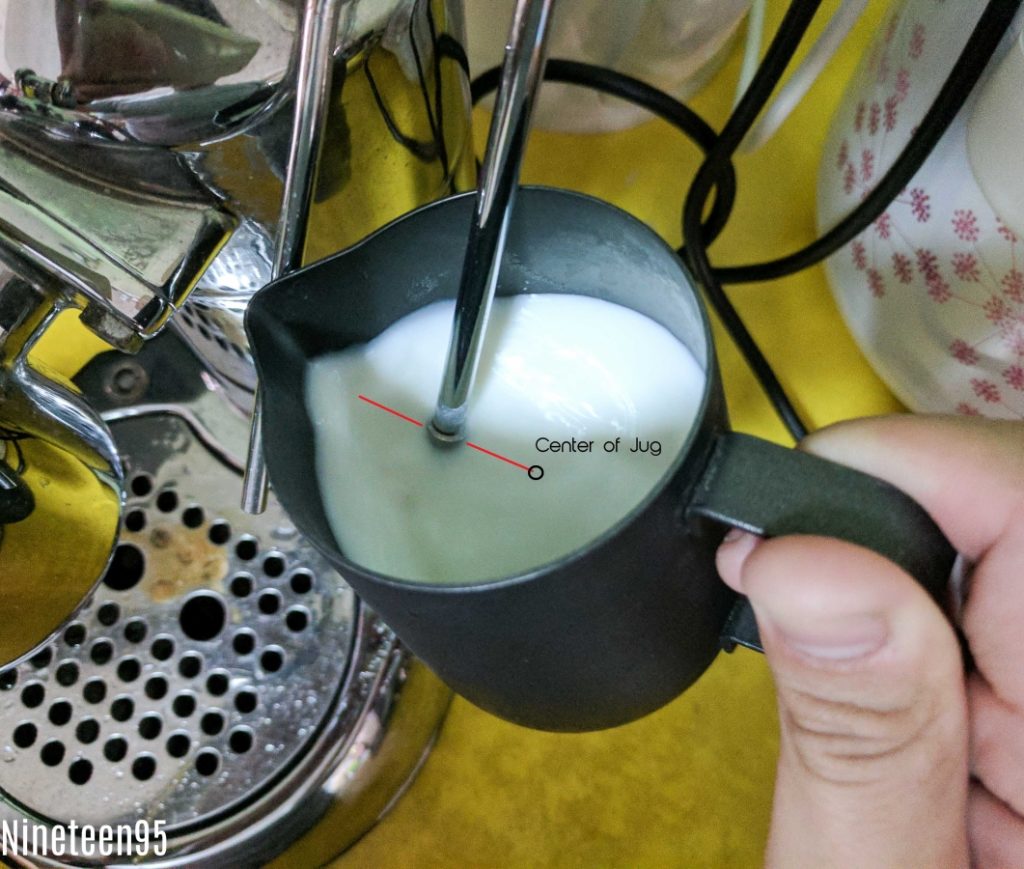

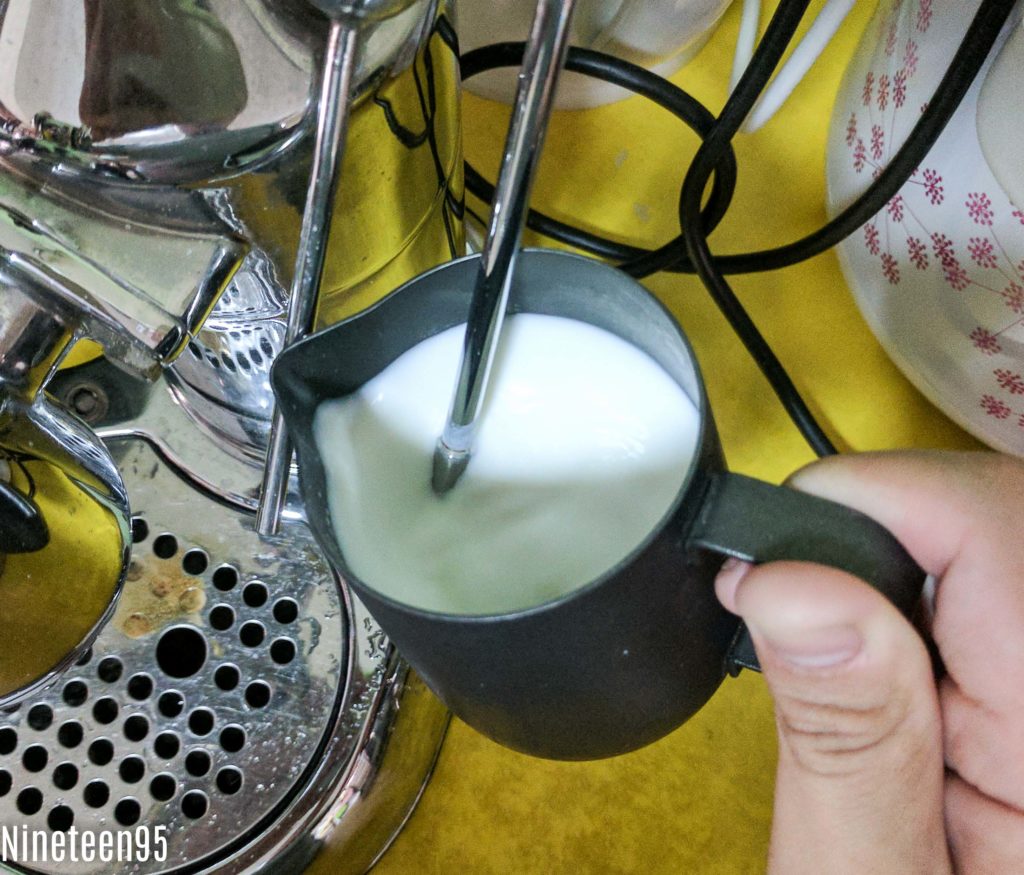
First of, dip the wand about a cm in the milk. Not too deep or it won’t be able to swirl the milk. Not too shallow or else you might start pre-maturely foaming the milk without getting the whirlpool yet. Positioning is key when you are trying to get a whirlpool in the jug. Take a look at both photos above. What you have to do is position the steam wand in between the center of the jug, and the wall of the jug. Then, tilt the jug slightly so that it helps the steam push the milk around the jug easier. You really have to practise a lot with regards to finding the perfect position of getting the whirlpool. But remember, in between the center and the wall, and slight tilt. Turn on the steam and start swirling.
I was having trouble getting good microfoam for a period of time cause I kept positioning the wand extremely close to the wall. Somehow, it affected the quality of microfoam. I was getting slightly bigger bubbly foam than microfoam. Placing it to near to the center will create big bubbles in the foam.
Here’s the science:
As you stretch the milk, the top layer expand and gets foamed up. Air is naturally less dense than liquid and hence stays at the top. The whirlpool will “suck” the foam from the top and fully incorporate it with the main body of milk. When the milk is properly incorporated with foam, it will flow out smoothly and help with pouring latte art.
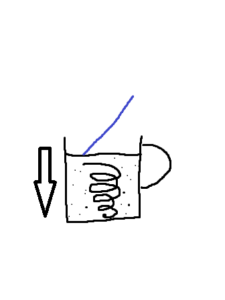
3. Stretching the Milk
Now that you’ve got your whirlpool, it’s time to stretch the milk! But hurry, the clock’s ticking fast – your milk will get too hot if you delay any further! With both hands, slowly lower the jug while keeping the whirlpool going until you you hear a high-pitched paper tearing sound. It almost sounds like the hi hat sound when you beat box. Get that sound going for about 4-6 seconds. However, use that only as a rough gauge.
There are 2 amazing tools that everyone is equipped with to assist with stretching the milk. Use your EYES and EARS to see and hear the whole process.
Eyes:
Look for the gradual increase in volume. I would say about a cm increase in volume is perfect for latte art. Slightly more and it would be foam that’s perfect for a cappuccino.
Ears:
Listen for that high-pitched paper tearing sound. You know you would have produced foam if there isn’t a high-pitched SCREECHING sound. The screeching sound comes from the steam hitting the walls of the jug. When you get enough foam, the foam should act as an insulator to muffle that screeching sound coming from the bottom.
Once you’ve got enough foam, quickly bring the jug back up such that the wand is slightly under the milk, just like when you were getting the whirlpool going. Use the other hand to feel for temperature. A good rule of thumb for getting the right temperature is: once the milk gets too hot to touch, the milk is ready. Off the steam once desired temperature is achieved. There has been some debate that a slightly cooler (not so hot) milk pours easier. I’ve been playing around and find minimal difference when pouring. But that’s just up to your preference, for now.
… And you’re done!
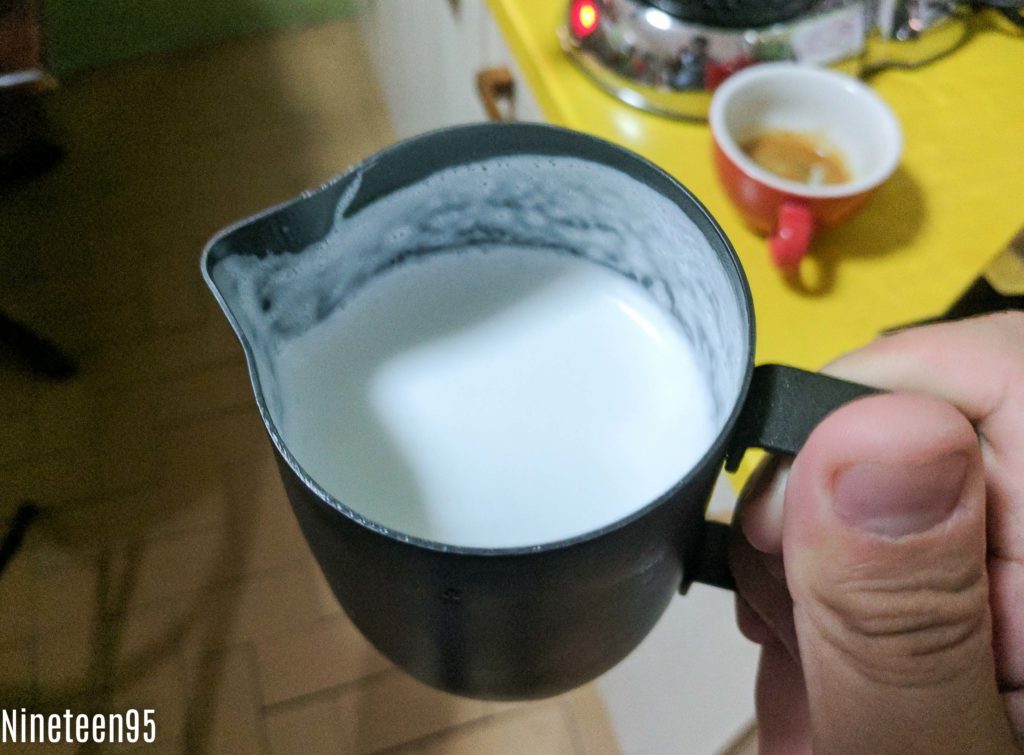
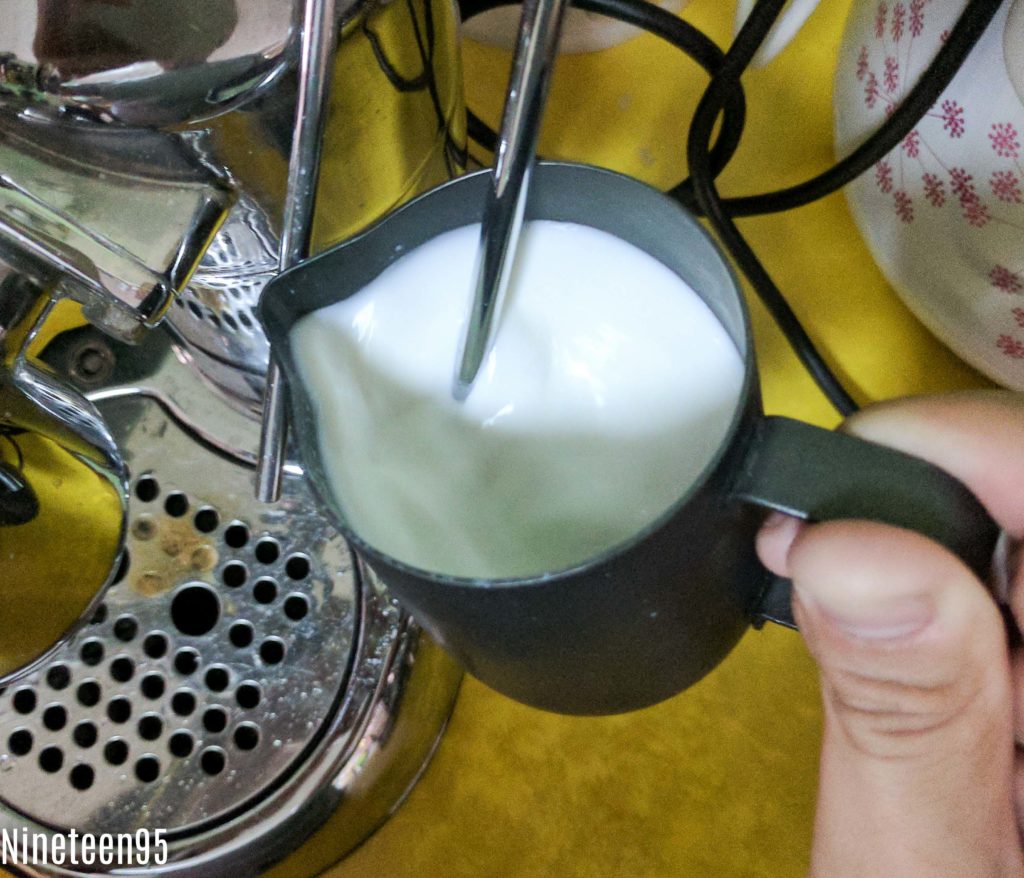
The final product should look something like this. As you can see, the milk rose from under the spout, to a little higher. Visually, the milk should look like wet latex paint. Don’t wait for too long though, don’t let your espresso and milk sit for too long otherwise you will not be able to pour latte art.
If you’re not getting it, don’t be disheartened. Practise practise practise! I myself am a home-trained barista. Took my several years to be consistent with getting microfoam and I don’t even get it right EVERYTIME! What helps me the most other than practising is to watch videos on both YouTube and Instagram. Keep at it until you are able to get it! Hopefully this guide will be able to help a few people who are struggling to attain good microfoam for latte art. Until then, see ya!
Here’s a video of me going through the whole process. You can see how I steam the milk from here.
Stay tuned for the next part: Pouring Latte Art!
SHARE this post on Facebook if you liked it! Don’t forget to follow us on our Social Media!
Instagram: nineteen95sg
Facebook: Nineteen95 the Espresso Bar
If you are looking for mobile coffee catering services, do check out our website at https://nineteen95.sg or drop us an email at enquiries@nineteen95.sg
Nineteen95 the Espresso Bar
Mobile Coffee Catering Singapore